BRIDGE OPTIONS, DETAILS & PROCESS
We can customize any component of our bridge design…
Customization Options
Many features to choose from!
Materials
All bridges are built with A-588 weathering steel. Special grades are available on request.
Treatment
One coat of Rustoleum metal grade paint is the standard treatment for our bridges. A second coat is optional. As a premium option, hot dipped galvanization is available.
Color
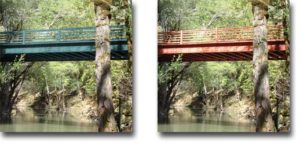
You can choose from any commercially available color, or customize to match any request.
Decking
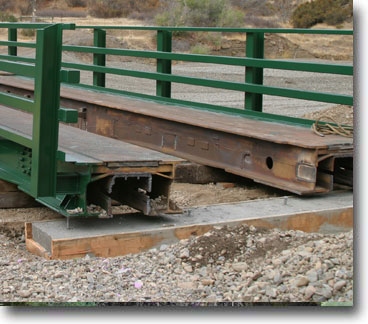
Road surface decking comes in a variety of thickness, 1/4″, 5/16″, or 3/8″, and can be flat or diamond plate. Diamond plate can add grip except in areas of frost or snow where the decrease in tire to bridge surface contact can adversely affect traction. We can also add texture by tarring followed by a layer of sand / gravel.
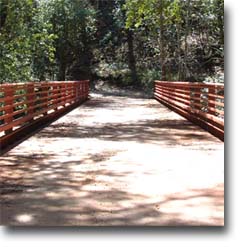
Rub-rails
Protect tire-sidewalls from the sharp metal edge of the I-beams. You can extend these in the various ways.
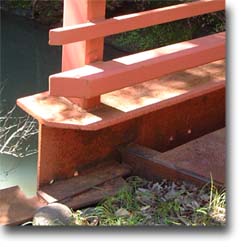
Hand-rails
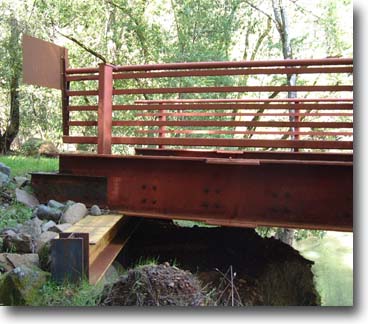
Though considered optional, bridges that are accessible to public traffic should install handrails for legal protection purposes. From simple metal structure, to varnished wood with metal scroll, this can give any bridge simple pedestrian safety with a unique flair.
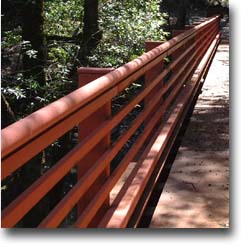
Catwalks
Furthering pedestrian safety, catwalks allow a bridge pedestrian travel without impeding the flow of vehicular traffic.
Abutments
3 main types to choose from
A quality bridge project is only as good as its foundation, or abutment. We are happy to consult with you on construction, engineering, and installation of the appropriate abutment for your jobsite. Your principal choices are Steel Pile, Modular Blocks, or Concrete Foundation. The surrounding road approach, footing, soil, or riverbed will affect your choice. We are happy to install on pre-existing abutments but will need to survey prior to scheduling installation. New foundations will add time to the overall installation schedule.
“A quality foundation can triple the life of your bridge…”
Steel Pile
The cheapest and fastest abutment solution, Steel Pile only has one drawback. The soil must be soft for a piledriver to work. A Piledriver inserts I-beams down into the earth, giving the bridge a solid footing. Unfortunately, if the soil makeup is primarily rock, this methodology is impossible.
Concrete Foundation
While a good choice, you can expect greater prices, and longer installation times. A form is created, re-bar adds strength, and cement is poured. Expect 2 weeks cure time, and you are ready to install!
Modular Blocks
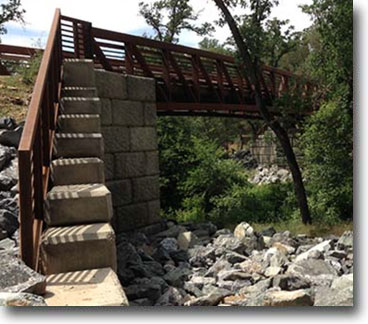
This new technology utilizes custom 2000 pound cement blocks that interlock, giving you an attractive, durable abutment. These same blocks are used very reliably for retaining walls. There are a variety of options available and can be customized to your particular need.
(see www.ultrablock.com)
The Daniel Bridge Installation Process
With a sound foundation, installation can be done in days…
Bridge building is no small undertaking. From initial site assessment and design development, to county planning and permits, preparing for your bridge is often more effort than the construction process itself. Once pre-production is complete, the production process includes 3 primary stages; foundation or abutment preparation, bridge assembly and road bed completion. What follows is a walk through of our on-site installation process…
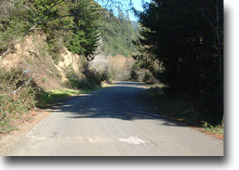
a. The site is reviewed to determine the readiness of footing or abutment.
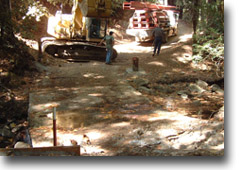
b. If necessary, an abutment is pile driven (1 day of work and you are ready to install!) or cement is poured (cure time is roughly 2 weeks).
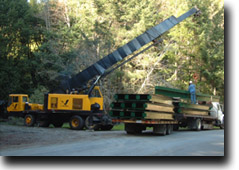
c. The crew, using a loader, excavator, crane or other equipment, off loads the Daniel Bridge.
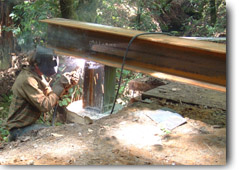
d. Beams are placed & secured on abutment.
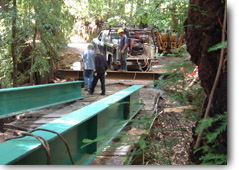
e. Modules are slid in place between beams.
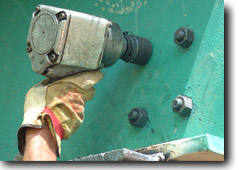
f. Bolts are tightened and checked.
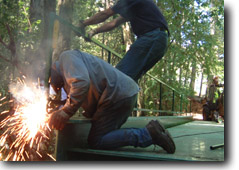
g. Handrails, or other options, are attached.
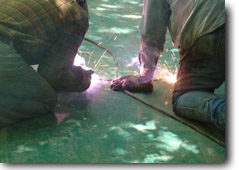
h. Deck seams are sealed.
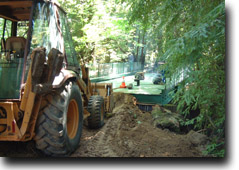
i. The grade, or road approach, is completed.
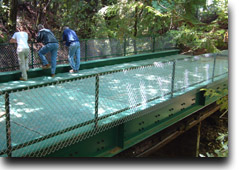
j. The finished bridge is both attractive and functional with a H-35 rating.

